
How Long to Leave Eyebrow Tint On: Timing, Brands, and Safety
Eyebrow tinting is a quick way to darken and define brows, but timing matters for good results. Most brow tints are left on for roughly 5–15 minutes – long enough to color the hairs but not so long as to over-darken the brows. For example, experts say professional tints typically sit on the brows (and skin) for only 5–10 minutes. Home DIY guides similarly recommend short times (often 2–10 minutes), noting that leaving the tint on longer will make the brows darker. In general, start on the lower end of the range and adjust for intensity: a few extra minutes yields a deeper shade, while a shorter time keeps the result softer. Always follow the specific instructions on your tint kit, since some at-home peel-off stains may even call for 20+ minutes under the dye.
Salon vs. At-Home Tinting
The process differs somewhat between salons and home kits. In a salon, a technician will cleanse your brow area, apply a thin barrier (like petroleum jelly) around the eyebrows, and use a custom-mixed professional tint. They typically coat the brow hairs carefully and let the color develop for about 5–10 minutes. (The full appointment often takes 30–40 minutes to include consultation, prepping, and removal.) Salon dyes are often stronger, but the pro will monitor timing closely.
At home, kits vary widely. Some (like plant-based cream tints) require no mixing and only a minute or two per step, while others (powder + developer systems) involve manual mixing. DIY instructions generally emphasize patch-testing first and using conservative timing. Home users are advised to do a quick test 24–48 hours ahead, and to leave the tint on for less time on the first try. This caution is because fixes are easier (you can always reapply) than fixing an over-dark brow. In short, salon tinting offers expert guidance and custom results (at a higher cost), whereas at-home tinting is cheaper and convenient but demands careful following of the kit’s instructions and safety steps.
Popular Tint Brands and Processing Times
Different brands use different formulas, so processing times vary. The table below compares some well-known eyebrow tint products and their recommended develop times:
| Brand/Kit (Type) | Recommended Processing Time |
|---|---|
| RefectoCil Brow Tint (cream dye) | ~10 minutes on brows |
| Godefroy Instant Brow Tint (gel kit) | 3 minutes (2 min color + 1 min activator) |
| Eylure DyBrow (cream kit) | 15 minutes |
| Ardell Brow Tint Kit (powder kit) | 10 minutes |
| Schwarzkopf Bonacrom (perm. dye) | Up to 10 minutes |
These examples illustrate the range. RefectoCil’s cream tint is usually left on about 10 minutes for brows, whereas a quick gel kit like Godefroy’s “Instant Brow Tint” only needs 3 minutes (2 minutes colorant, 1 minute activator). Eylure’s DyBrow cream recommends 15 minutes. Even within the same brand, intensity can be adjusted by time – darker brow goals may justify the top end of the range, but always follow the product guide. In all cases, note whether the tint is “deposit only” (won’t deepen further) or oxidative (may darken if over-processed), and never leave it on past the maximum stated time.
Tips for Best Results
-
Patch Test First. Always test a small amount of the mixed tint on skin (behind the ear or inner elbow) 24–48 hours before your full tint. This checks for allergic reactions or irritation, especially if you have sensitive skin.
-
Prep and Protect Brows. Wash and completely dry your face so oils or makeup are gone. Apply a thin layer of petroleum jelly or coconut/castor oil around the brow edges (just outside the hair line) to shield the skin from stray dye. Do any shaping (tweezing or trimming) before you tint, not after, to avoid accidentally removing newly tinted hairs.
-
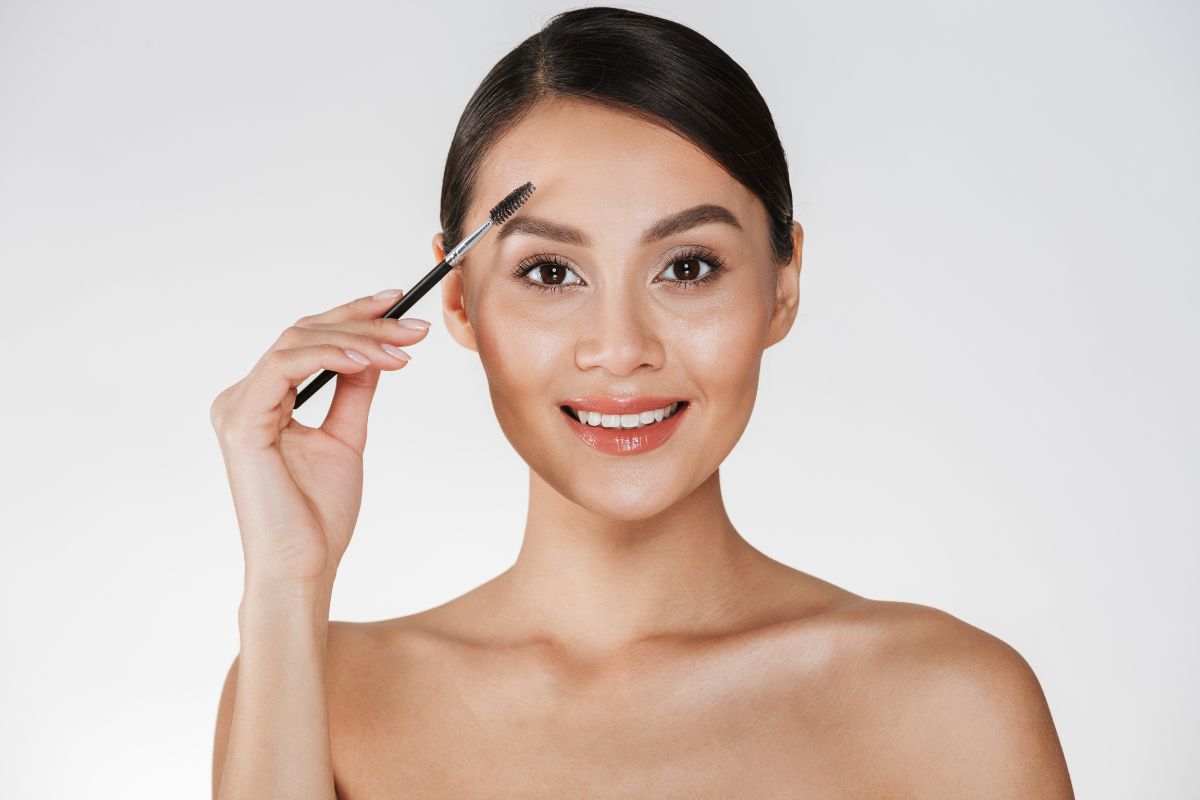
Brush On Evenly. Use a small spoolie or brow brush to apply the tint. Coat each hair from root to tip, brushing in the direction of hair growth. This ensures full, even color. Using a fine brush or spoolie to comb the tint through your brows ensures every hair is coated. As shown above, carefully brushing through the brow gives uniform color and shape.
-
Time It Right. Start with a shorter time than recommended, especially on your first application. You can always add more time later if the brows aren’t dark enough, but it’s hard to undo an over-tint. For example, if a product says 10 minutes, you might try 5–6 minutes first, then check the result. Keep a timer handy.
-
Watch the Color. If, upon removal, the tint seems too light, you can reapply immediately or increase processing time the next session (or add more colorant). If it looks too dark or uneven, gently wash the brows with soap and water to fade it a little. A backup plan: makeup (brow pencil or gel) can help tame any overly intense color until the tint fades.
-
Aftercare. For maximum staying power, avoid getting the brows wet or using oil-based products for at least 12–24 hours after tinting. Oils in cleansers or serums can break down the dye. Keep in mind that tinted skin may look extra-strong the first day as the dye oxidizes and then gently fades over the next 1–2 weeks.
Risks of Over-Tinting
Leaving brow tint on longer than necessary can backfire. Over-processing can make the eyebrows unnaturally dark or result in a harsh, uneven look. Some experts note that “over-tinting can damage your brows” and cause unwanted staining. The skin under the brows can hold excess dye (staining it bluish or grey) if the colorant is left too long. Because brow hair grows out, an over-dark brow can take weeks to correct. In short: better under-tinted than over-tinted.
If you accidentally overdo it, gently washing the area or using a mild facial scrub can fade the dye on the skin more quickly. Otherwise, any excess color will naturally lift with time as the hair grows. Always follow the kit’s maximum time and resist the urge to let it linger beyond the suggested period.
Considerations: Light, Dark & Sensitive Brows
-
Very Light or Fine Brows: If your natural eyebrows are blonde or sparse, use extra caution. It’s easy for tint to appear too dark on light brows. Tint for only a minute or two on your first try. You can always repeat or go longer on a second pass. Some recommend using a shade lighter than your hair or even visiting a professional (who can custom-blend a very soft color).
-
Very Dark Brows: If your brows are very dark already, you may need only the minimum processing time or a very mild shade. Dark hair takes color quickly, so stick to the lower end of the recommended time. In general, makeup artists advise choosing a tint one shade lighter than your natural hair color if your hair is dark. This prevents an overly harsh look.
-
Sensitive Skin: Sensitive or reactive skin requires caution. Use formulas labeled as gentle or free from PPD/ammonia (e.g. some plant-based kits). Always patch-test (as above) before each new product. After tinting, watch for any redness or swelling around the eyes. If any discomfort occurs, remove the tint immediately. Because eyebrow dyes are not FDA-regulated, it’s wise to choose a reputable brand and avoid expired or overly strong dyes.
By timing your tint carefully, preparing properly, and choosing the right product for your brows and skin, you’ll get the best-looking results. Remember: follow instructions, do a patch test, and start slow – the clock is your friend when tinting brows!